

At some point, most homeowners encounter water damage. In fact, nearly 40% of homeowners report water damage in their homes, making it the most common claim filed with home insurance. Whether it’s from a burst pipe, leaking appliance, or weather-related incident, knowing how to act quickly is essential. These do-it-yourself (DIY) tips will guide you through the first steps to mitigate damage before professional help arrives or if the damage is manageable enough to tackle on your own.
1. Locate the Source of Water
The first priority is to identify where the water is coming from. In some cases, this may be obvious, such as a leaking faucet or visible pipe burst. However, water-damaged ceilings, for example, can make it challenging to pinpoint whether the source is a roof leak or something else. If you’re unable to find the source, or if it’s hidden behind walls or flooring, you may need to contact a professional to prevent further issues.
2. Shut Off Water and Electricity
If the water source is internal (like a leaking pipe), turn off the water supply to minimize further damage. If the affected area contains electrical devices or appliances, ensure the electricity is turned off in that section of the house. Safety should always be a top priority—never step into water near electrical sources without confirming the power is off.
3. Move Contents Away from the Affected Area
Move personal belongings, furniture, and other items out of the wet zone as soon as possible. Prolonged exposure to water can cause irreversible damage to furniture and valuables, potentially making them unsalvageable. Heavy furniture can be difficult to move—if this is the case, try placing blocks underneath to elevate it off the floor. Professional restoration services often do this to prevent secondary damage. Items like cabinets and vanities that are fixed in place may require professional assessment to determine if water has penetrated behind or underneath them.
4. Remove Standing Water
After securing the water source and removing affected items, it’s time to eliminate standing water. For smaller areas, a shop vac can be effective. However, if the water covers more than 100 square feet, it’s wise to consult professionals to accurately assess how far the water has spread. Even hidden moisture can lead to structural problems or mold growth if not properly addressed.
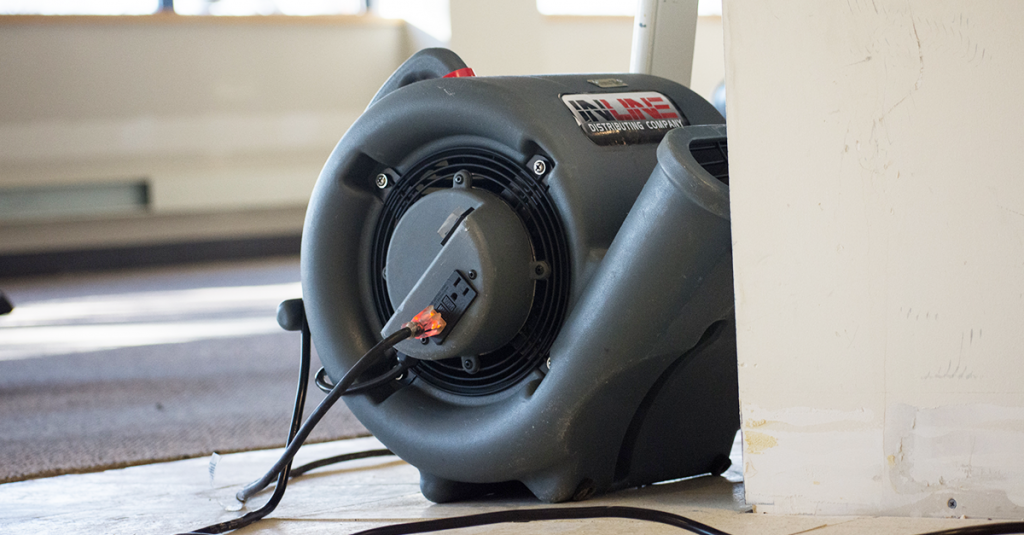
5. Get Air Circulating
Once the visible water is removed, moisture still lingers in walls, floors, and other materials. Airflow is crucial to prevent mold and further water damage. If you’re comfortable removing baseboards, this can allow better ventilation behind walls. Use as many fans as you can to create airflow across the affected areas, and run a dehumidifier to pull moisture from the air. While professional-grade equipment will ultimately be more effective, getting air moving immediately is a great first step to minimize damage before the restoration team arrives.
Conclusion
Dealing with water damage can be overwhelming, but acting quickly can help prevent further problems and reduce repair costs. Identifying the water source, shutting off utilities, removing items from the affected area, and circulating air are essential first steps in the restoration process. For small water intrusions, these DIY measures might be enough. However, for larger or more complex situations, professional help is recommended to ensure all moisture is properly removed and prevent long-term issues.
Prepare now, act fast, and remember—timely intervention is key to protecting your home from water damage!